PC Building Log

CPU Fan
The CPU came with a dedicated fan, but we don’t need that. We have the be quiet! PURE ROCK 2 for cooling. So that’s next up.
OK, first mistake. I set the radiator on my desk and got some thermal paste on my desk. There’s still paste remaining on the cooling plate of the cooler, so I’m guessing it should be OK. Otherwise, I might need more thermal paste (I’m not really sure I have that).
Washed my hands. Touched the laptop charger, removed static (I don’t actually know if that removes static). Anyways, back on the job.
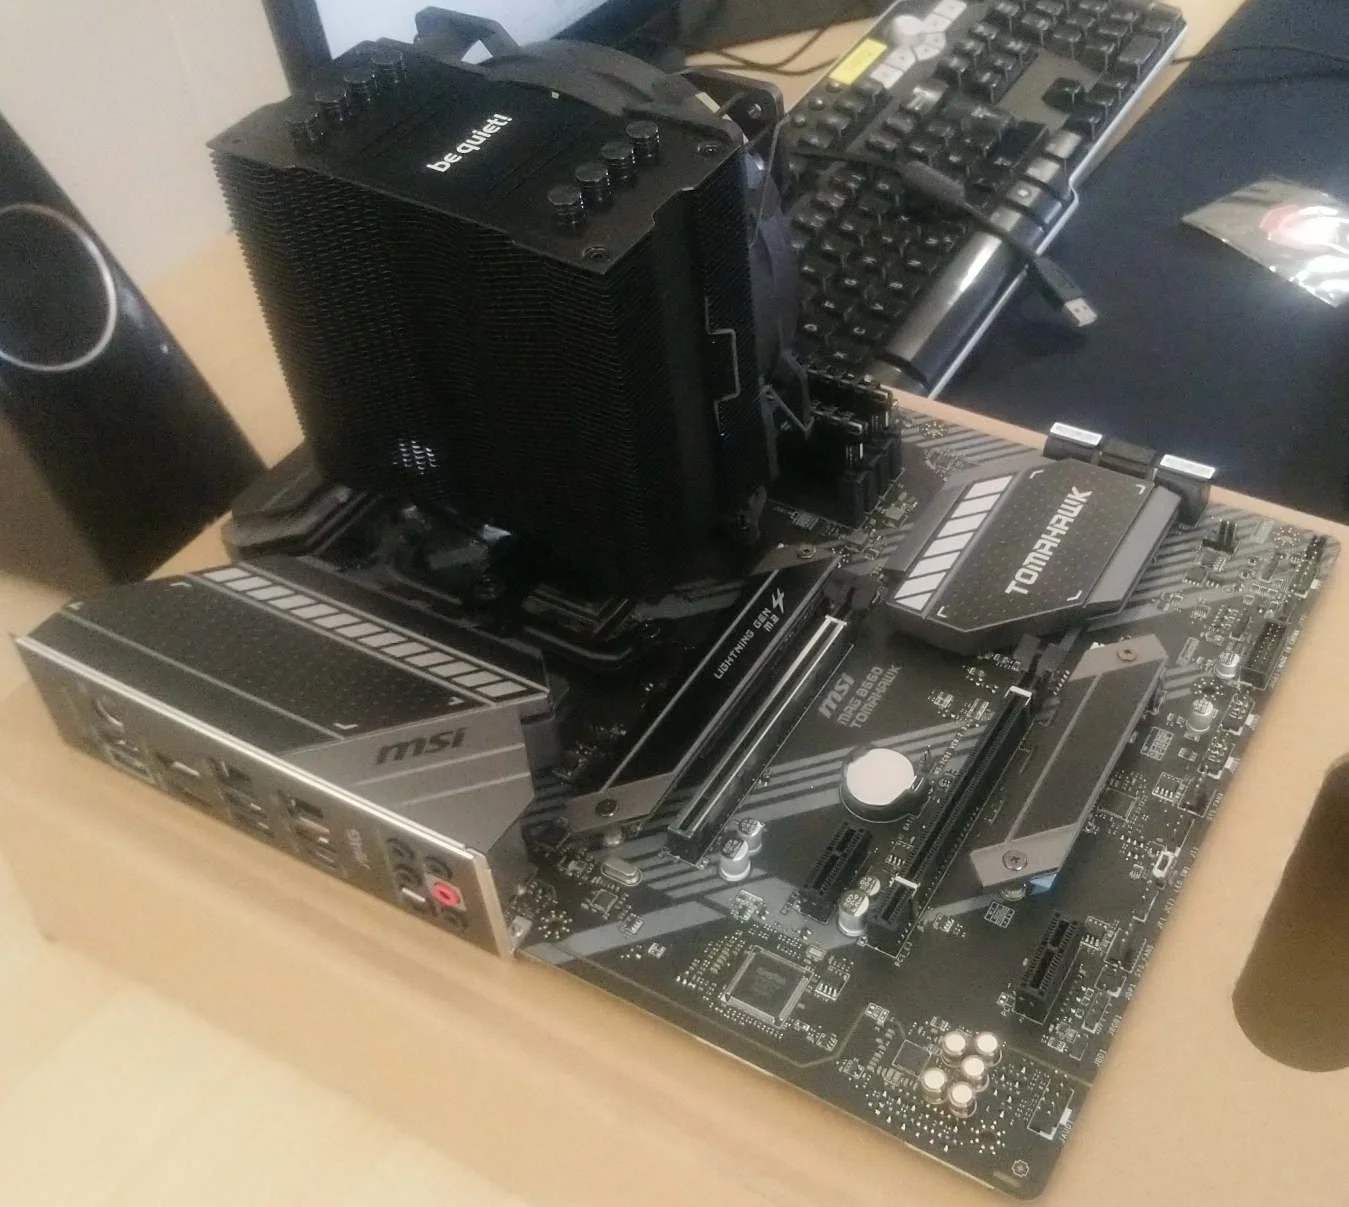
First of all, this cooler came disassembled without a manual (knowing me, I may have misplaced this). I watched a quick video on YouTube instead. Unscrewed the plates around the CPU (that is where the fan should go). The order to install the parts is washer, standoffs, bracket and screws. I don’t have any washers in the packaging, so I’m going straight to the standoff. Its good that they only fit one way. Yes! the supports are in and the fan is screwed in above the CPU. I checked the orientation of the cooler and ensured that the text would face the right way up after the final assembly. The cooler also comes with a fan. Next, to put the fan on. Strapping the fan on the cooler fins was a bit tricky, but I managed to do it without breaking anything.
Some more coffee and some more static removal.
I plugged the fan cable into the header that said label SYS Fan 1. I’m guessing thats the fan header. I tucked the cables away after that (can’t have lose cables flying around, thats ugly :/). The fan is now installed (almost). Well…at a later stage, I noticed pins that were labelled CPU_FAN1, so I plugged the fan there instead. I’m going to go with my gut on this.
It’s still morning. I’m down half a glass of coffee now.

I have always wanted to build my own PC. I loved computers as a child, but it’s difficult to make a strong argument to convince anyone to blow a ton of money on a PC :P. Ever since I left home for university, I have always used a laptop. But, I’ve been moving around less in the last half decade and I wanted to put together something nice. Obviously to play video games! I mean, I have enough laptops to get all my work done. As a student working on my dissertation, I was a bit hesitant to splurge on an overkill PC. I don’t actually need it. I just a needed a good enough rig to play everything at near 100% graphical settings (the “near“ is quite generous). My solution was to buy a second hand PC (a DELL Optiplex 9020) and plug in a solid graphics card. I intended to push the PC to its limit and let the graphics card handle the rest. I also replaced the power supply to keep pace with the graphics card. This worked for about six months. I’ll spare you the details of trying to fix it, it involved giving up, taking it to a shop and being told it was not worth it. The bitter sweet triumph in this was that I now get to build a nice PC around the graphics card that I already owned :D
I really wanted to enjoy this, I set it up perfectly. I ordered all the parts over the week. I spent the two weeks before that scouring websites and ordering the right set of compatible parts. Everything arrived by Friday, so I’m all set to GO!
I’m starting now, on a nice Saturday morning. Clear weather, a bright sun and a warm temperature. I get cheerful about these things now, lol. So here goes….starting my build.
Mother Board & CPU
OK. First, clean the table of all things except the mother board box. Place the mother board on a cardboard box. Not too sure of the consequences of putting it on a table that might be metal. I have a MAG B550 TOMAHAWK mother board. I touch the laptop charger pin many times to remove static from myself. I paired the mother board with a AMD RYZEN 5 5500 (6 core 12 thread) processor. The motherboard comes with a manual, and a bunch of other stuff (not important). One of the cables is a SATA cable but I don’t know what the other one is. Nevertheless, I don’t think I have any components that may require these cables. We move on.
Took out the processor carefully. Checked which direction the processor has to go in. There’s a small triangle thing in one corner of the CPU and a corresponding dot on the AM4 socket on the motherboard. Alright, I think that they are meant to be aligned, probably. Putting it in now. Did not press, just placed the CPU on the board gently and allowed the pins to sink into the socket. Then, secured the CPU on the motherboard using the onboard clip.

Hard disk, RAM, Power Supply, Case
For storage I’m going with a 1TB SAMSUNG SSD 980 NVMe M.2 drive. After a decade of spinning disks, I’m finally ready to move on.. I’m itching to see a really snappy system where everything pops up without a loading wait. The NVMe drive only goes in one way. So that was easy. I found the screw to lock the drive in place in the mother board slot. I removed the sticker that exposes the back plate of the shield (on the mother board) and screwed it in over the drive. If all goes well, it should be screwed in properly.
Some more coffee. Ouch! This cup was scalding. Some more cleaning up, putting away boxes, etc.. you know...
Next up is RAM. I have 2 sticks from Corsair. VENGEANCE LPX 2x16 GB, 3600 MHz RAM. RAM only goes in one way, so I think I got it right. It was a slight bit more harder to push in than I expected, but I lined it up correctly and pushed the RAM in (hopefully nothing broke). Also, I was mindful of the channels. So, that’s slots 1 and 3 (not 1 and 2!). Thats all the components that go on the mother board. The graphics card will come in later. Next, I’m going to prepare the case after a short break.
I have a 600W BQ EVGA PSU. This will run everything on this rig (but writing this blog in 2023 (it’s been 6 months), I could have also gone with 750W or 850W). However, this should be adequate power in my opinion. Would have helped to have actually checked online, stupid! But I’m thinking that 600W should be fine on this setup. I dont have too many components that draw a lot of power.
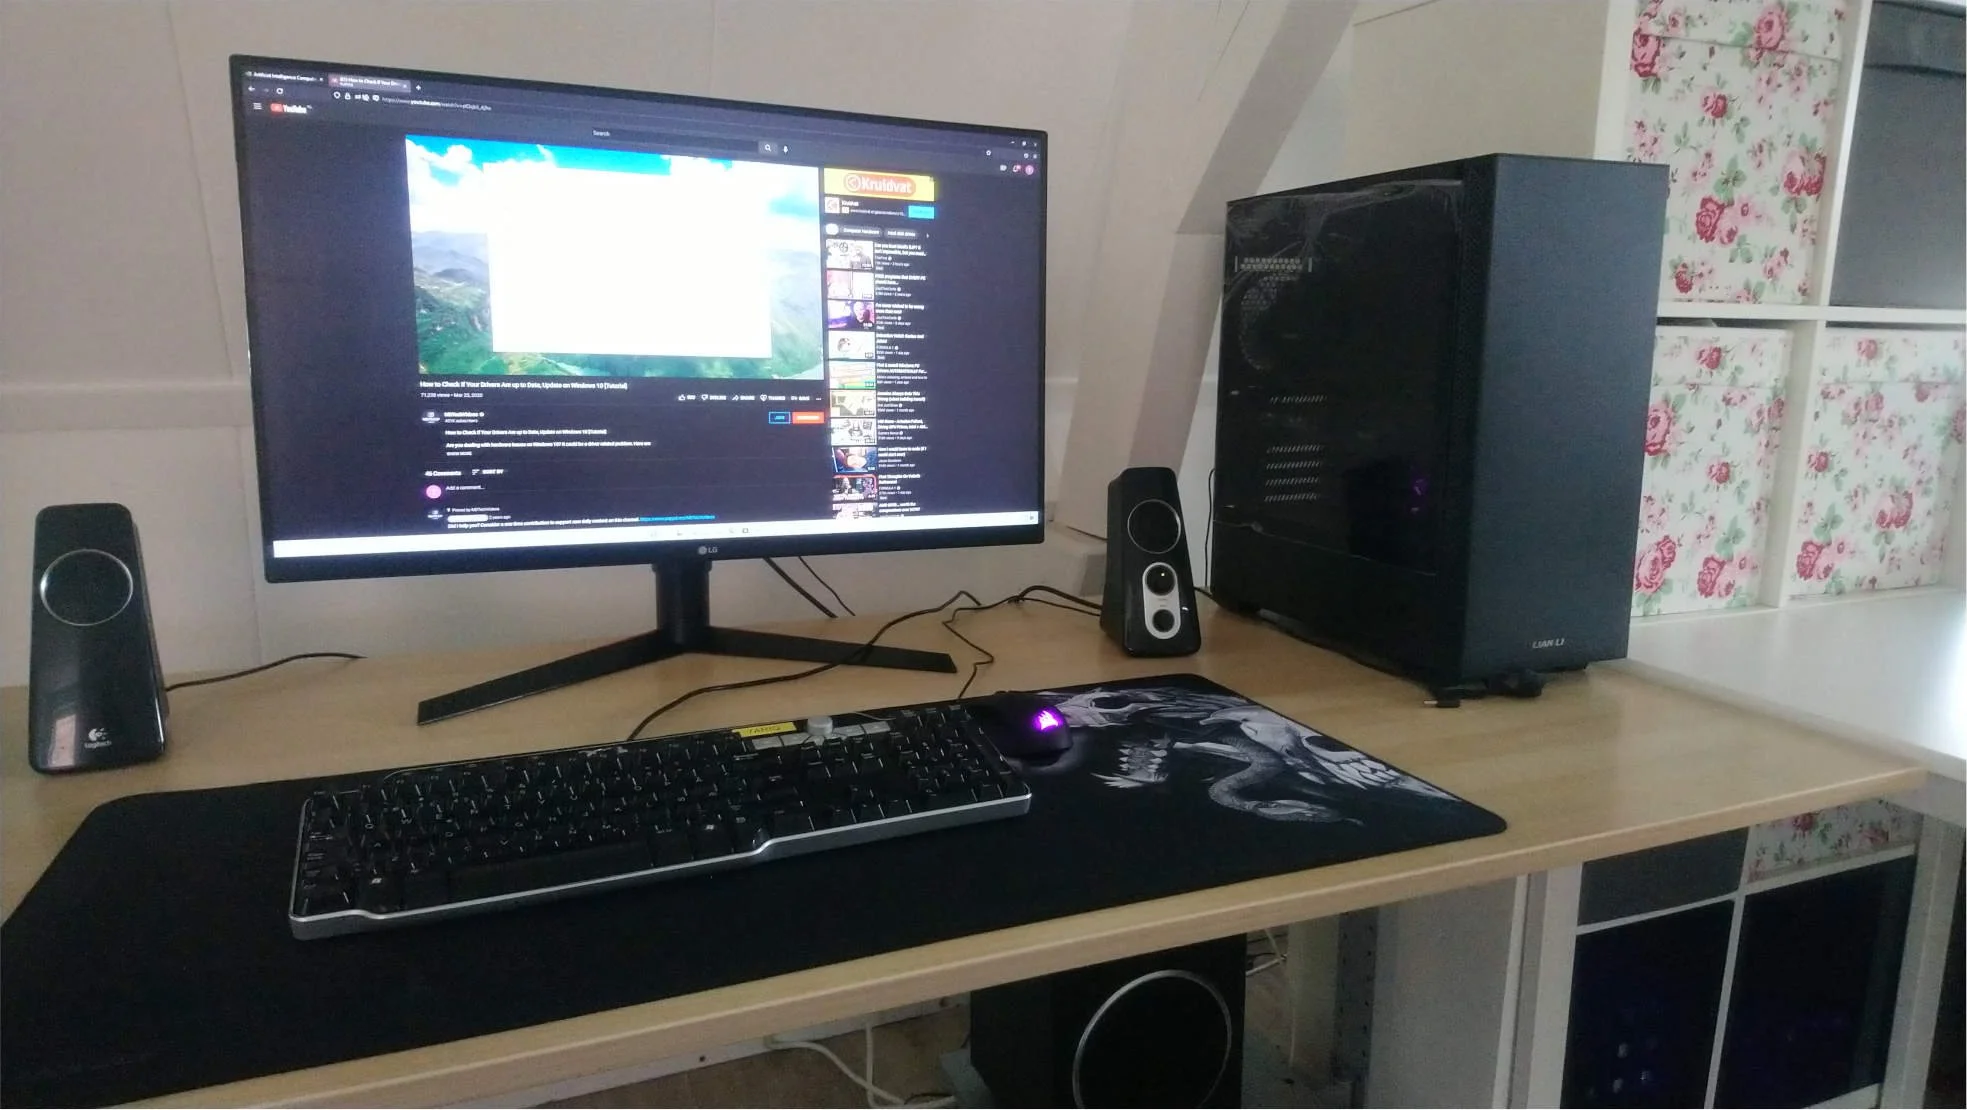
I got a Lian Li 205 case. I’m going to stop right here and say “Of course! It’s all about the looks“. Seriously, I dont have the time or the requirement to really have to push this to do anything that I depend on. It’s mostly recreational and I want it to look cool :D
The case has a nice configuration with a tempered glass window. Plenty of access for cable management and a place to tuck away a lot of things. I removed the 4 screws on the back and removed the side panels. Put them away. Removed the magnetic dust filters on the top and front. Two of the strips stayed attached to the case and was missing glue to stick to the dust filters (this sucks :/, but I’m just going to live with it - rather than send it back). I will deal with later if it’s a problem. I removed the harddisk cage to give myself more space in the bottom.
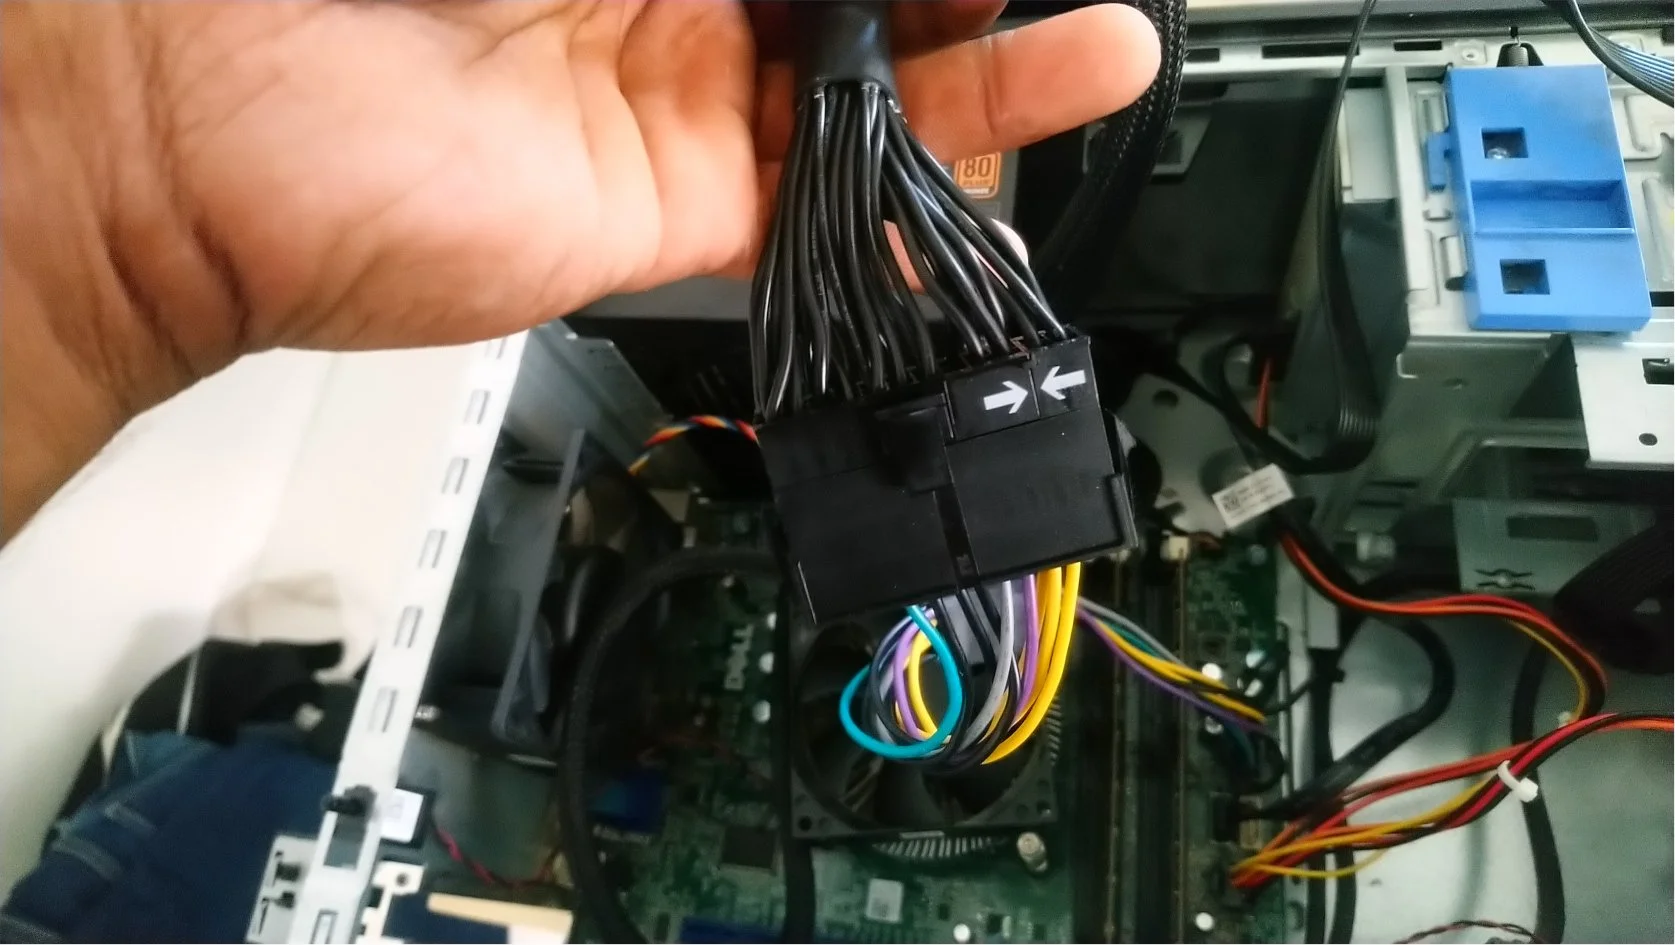
Slid in the PSU from the bottom (with the case on the side). Found the PSU screws and secured the PSU to the back. Next, I flipped the case on the other side. Now to screw in the motherboard. Screwed in the motherboard. Next task, wiring in the components to the power supply. Plugged in the power cables to the motherboard. It was a bit tight, but I think its secure now. I was a bit scared about manhandling the motherboard. But I think it’s OK. Alright! Everything plugged in. I/O cables, HDMI audio cables and the USB 3.0 cables are plugged in. Now to turn it on and seeing what happens.
It turns on aaaaand….No output on the monitor. Hmmn…
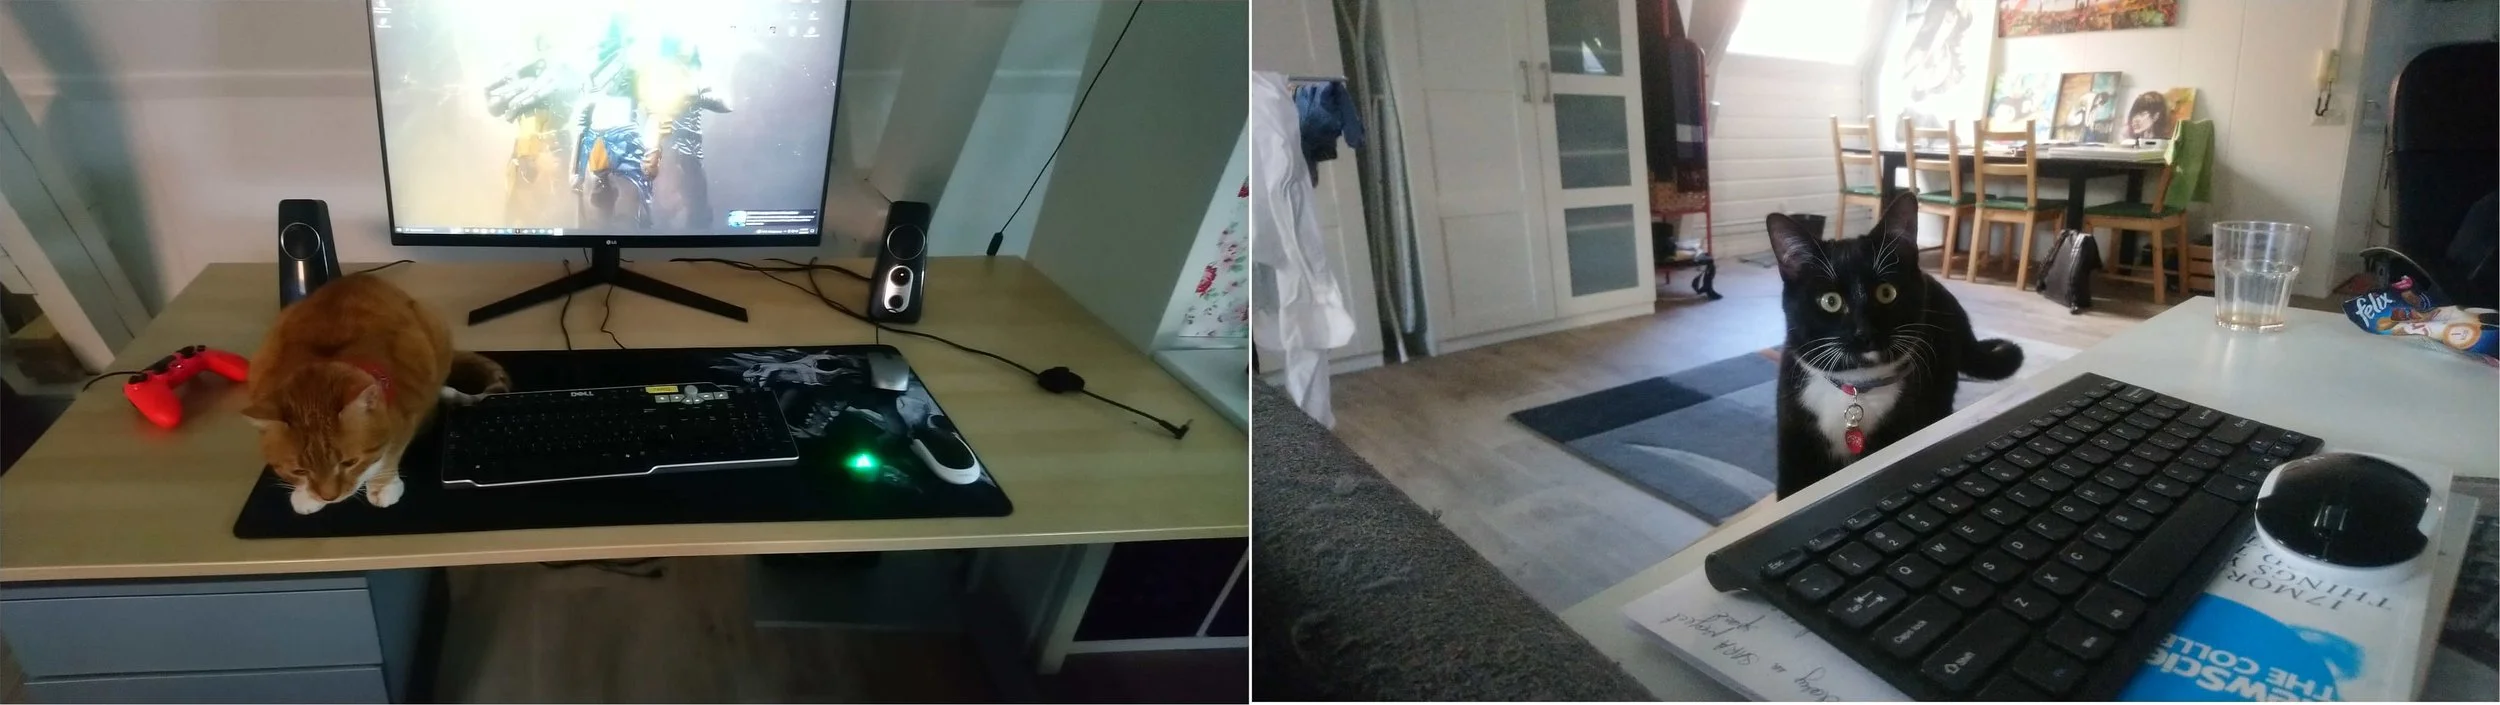
Oh NO! The cats are here (normally I welcome them). Both of them, Ginger and Tompousse! I should watch out for static and keep them away from everything. I fed them a few treats to keep them busy and made sure (with great effort) to not get distracted :P
CPU not detected or Fail
The dread!! There is a red LED on the motherboard, and looking it up on the manual, I see that it means CPU not detected or fail. Now thats really sad. Luckily everything is new and hence under warranty. So, in the worst case it can be replaced. After searching through internet on my laptop, I figured that it could be the CPU, the motherboard or the BIOS (great help that was).
I removed the CMOS battery first, to test the BIOS, but that didn’t do anything. Next, I unscrewed my CPU cooler and removed the lock on it. I removed and reseated it. It seems sturdy and I do not expect anything is wrong with it. I then checked all the wires. The fans are running and the pins seem connected correctly. I dont think there is a hard disk problem at this point. I removed the RAM sticks and tried them in different slots. I checked all the power pins from the PSU. They also seem plugged in right.
Hmmmn…Ok, I’m stumped. One forum post online suggests that maybe the BIOS is not updated. There may be an option to update the BIOS from the manufacturer site. I have to still try this.
I used a USB drive I had, formatted it to FAT32 and copied over the BIOS update files. Renamed the file to MSI.ROM, plugged it into my PC and hit the BIOS reset button. The red blinking light tells me that the BIOS is updating. Now I need to wait.
I found this reddit post (https://www.reddit.com/r/MSI_Gaming/comments/kkhhal/tips_for_b550_tomahawk_bios_flashback/) with a checklist of things to do and this youtube video https://www.youtube.com/watch?v=eNi0Y0CFDEI detailing the same process.
OK its done now. It rebooted. Dont know the status yet. I will remove the USB, turn off the power, put in the RAM and try again. Nope! I still have the same problem. PC wont boot :/. Come on! Really?! This is so frustrating!. What am I supposed to do now?
Tried the CMOS sensor battery again. I updated the BIOS àgain, but now to the latest version. Flashing the BIOS again. Alright, now there’s something new. On startup, the red light on the motherboard does go on, but then off. It points to some issue with the VGA (that’s what the manual says). Nevertheless, I’m going to try and calm down and leave it on for a while. See what happens.
OK, VGA problem still persists, but the keyboard and mouse light up. Still no signal to the monitor. I switched between two cables, HDMI and DP, but still no luck.
I swapped one ram stick through all the slots to see if it starts up. I tried all 4 slots with the RAM. It beginning to think this may not be the problem. I wonder now if the light is indicating that it does not detect the graphics card. Maybe I should plug it in and see if there is anything on the display. I plugged in the graphics card now. Let’s see.
I’m stumped! At this point I don’t know what’s going on with this system. But alrighty! we are a GO!!! Finally booted (no clue! I’ve just plugging things all over). Come on! How do they make a motherboard that wont boot without a graphics card. I must be missing something. Anyways, let’s move on. Sigh! That gave me a scare. I was almost ready to admit defeat and take this to a shop.
Things look good now, the RAM is showing up correctly in the BIOS, but the speed is 2133 MHz (it should be 3600MHz). I dont think there is anything wrong with the RAM. I will deal with this issue later. The CPU stats seem to check out (6 cores and 3.6 GHz). Storage of 1TB is detected correctly. OK, now I can turn it all off. Manage the cables and clean up a little bit.
I put everything back in the case, but now it wont boot again! I’m ready to break something now. SO MAD! I dont know whats wrong now. OK, that may have been me plugging the display into the motherboard instead of the graphics card. Alright, lets do this again. It seems stable now, finally!
I am so hungry. Time to clean the desk, organize things for the next stage and get some lunch!!
Windows
This is another fear of mine. In the last ten years I’ve been so used to using Linux that I was quite behind on where everything was on a Windows system (scary). I made the windows installation media on Linux using a web USB tool. Now, I should be able to boot from the USB. I took out the Windows 11 box and scratched off the seal. Let’s get started (exciting!). The installation media worked. Just enetered the product key. Its getting on with the installation. I guess I can count on the power not going out in The Netherlands :P. It asked me for internet and I plugged in the ethernet cable in.
Last step, to give it a name. I went with ‘Balerion’ after Balerion the black dread from Fire and Blood by G.R.R. Martin.
The last part seems straightforward. Just going through the steps in the installation process. Aaand… finally, we’re at the desktop! I should do a restart without the USB. Miraculously, everything works now! I am so glad I didnt go to the shop to fix it. It would have been a total waste. I would have just been the wrong climax and a huge waste of time.,
Patching up
Downloaded the GeForce experience to update the graphics drivers to the latest. Installed steam. Running some windows updates to get windows up to speed. Next step, is to setup the CPU profile and RAM speed correctly. Updated that. My RAM is running at 3600MHz and the CPU appears to be running around the expected speed. Alright, I guess thats it for now. I might upgrade the fans and change out the cables (maybe). Will updated if I do :D
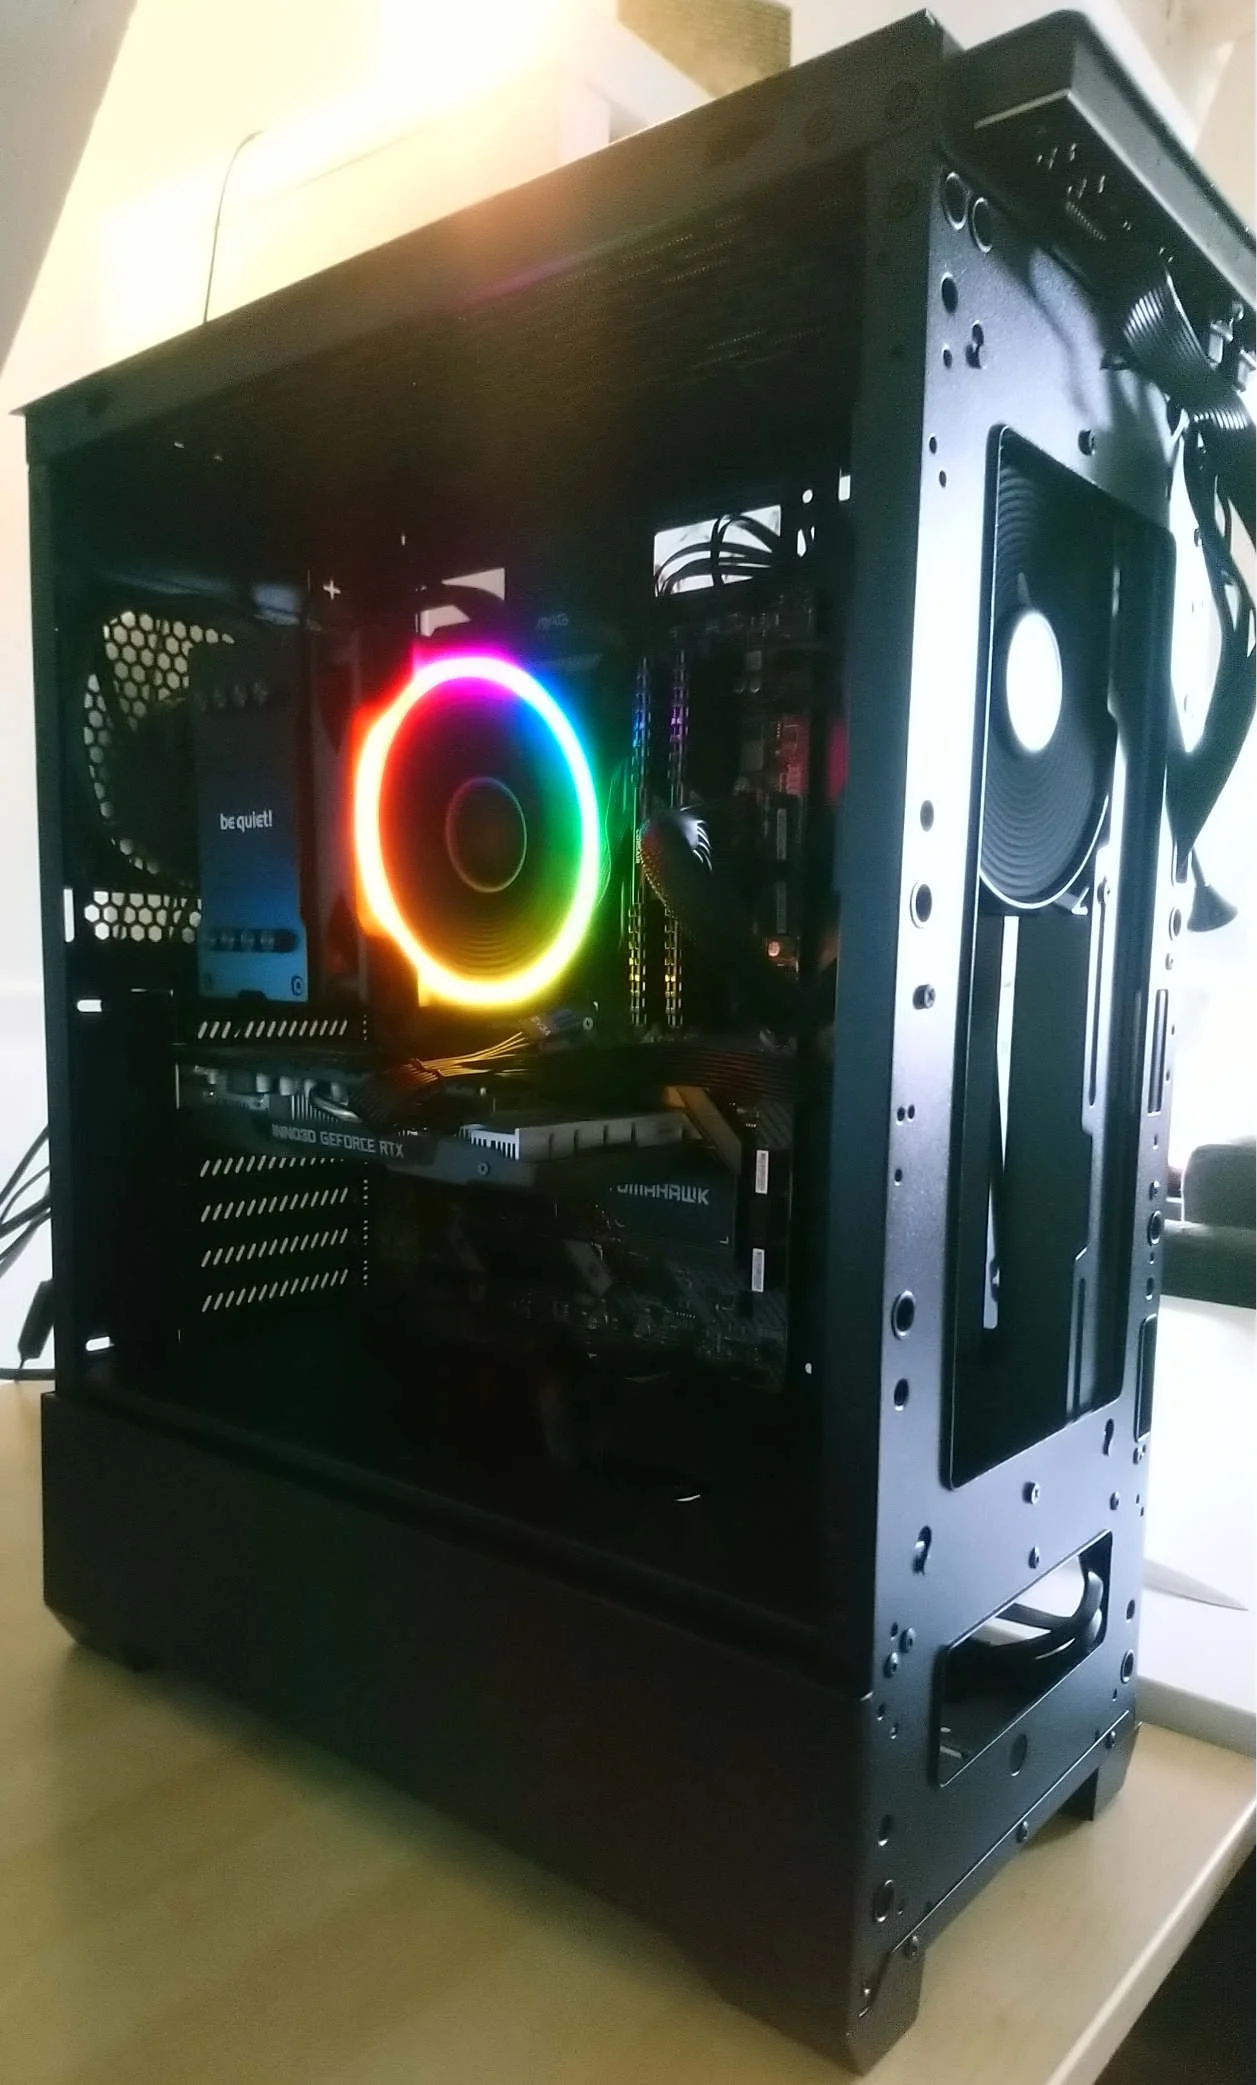
And finally RGB!
Now that I have the system up and running fine, I made the final addition to the rig. I removed the fans with that came with the case and replaced them with two “be quiet! Light Wings 3 120mm PWM” high-speed fans. I got one of them with RGB lighting to light up the cooler on the CPU.
I think overall I’m quite happy with what I got and I am certainly overjoyed with the experience. This was such a nice way to spend a Saturday!